Here’s a preview of the rig for the Dad character. I considered using HIK but Maya’s HIK solution creates an excessively complicated network. Instead, I stuck with a custom rig with IK-FK switching, character sets and definitions.
With this rig, I can apply mocap and switch between IK controls, FK keys and mocap using a weighted value. At the same time, the network is not overly complicated. IK controls are held to just what I want and adding another control during the middle of production won’t mean recharacterizing or recreating keys.
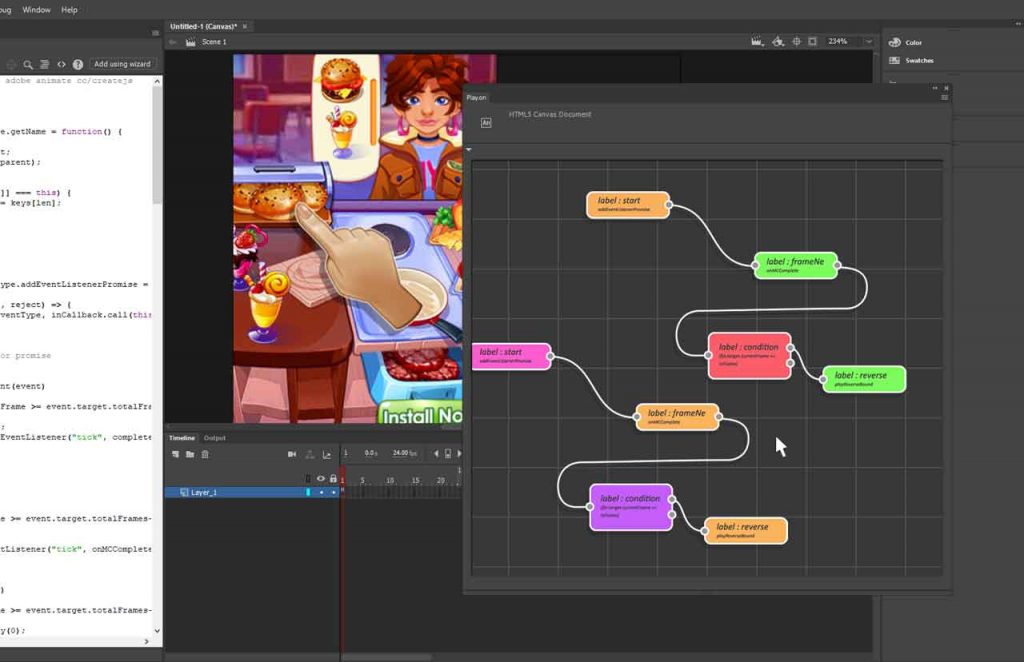
I’m currently working on a plugin for Adobe Animate CC and Adobe After Effects which I have nicknamed “Play.on”. It will allow you to build interactive HTML5 based media using visual programming. This media can be used for things like playable ads, mini-games, interactive web apps, banner ads, the list goes on. You can choose from a library of templates and customize it to suit your needs. The cool thing about this workflow is that you will not need to be a computer programmer to create a robust interactive experience.
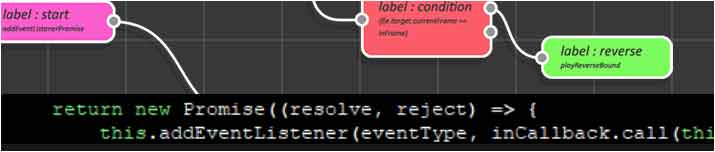
The concept is to use a node-based network to build and visualize an interactive experience. You design the experience using a series of nodes along with simple logic streamed together in a graph using Adobe Animate CC and Adobe After Effects.
The nodes refer to animations that can be triggered as the user travels through the experience funnel. After you have created your network, you can output an HTML5 web ready file that is not only responsive and polite loading but adapts to server environment, including being able to preflight for Google’s DV360, Facebook Playables, all while MRAID compliant. The plugin will output all the necessary code for you as JavaScript and HTML!
And as the platform grows, you can extend the plugin by simply adding more nodes. I am also working on building a node for supporting dynamic content so that one can use third party data feeds for things like keyword contextual targeting, geolocation, and campaign data can be fetched and used to determine what kind of experience will be delivered on the fly.
So I’ve moved onto rigging the child/ice cream character. Unfortunately, the way I’ve modeled him, skinning and weights are causing issues. Although everything seems fine in IK, when I switch to FK and apply some test animation clips (like the above ballet clip), I run into some bad skinning issues.
Even after applying delta mush, I can’t seem to get the body to have a more volumetric look. I may try applying tension deformer to see if that helps. As I want to eventually be able to bake this down to the skin weights, I am holding off from applying pose space deformation or correctional blend shapes.
I wanted to share this quick tip video for Maya’s Align Tool. There are many alignment options available in Maya so there are many different ways to achieve a similar outcome. When using the Align Tool with flat objects you may “lose” manipulators along particular axes such as the Y axis when you have a flat plane in the selection. I think most people would simply switch to one of the other alignment options in order to achieve the result they are looking for.
The Align Tool is actually functioning correctly, albeit not very user-friendly. Because the flat plane is so small the manipulator icons have “disappeared” into the corner. These manipulators are actually still available. You need to “zoom” into the corner of the selection to access them!
I modeled out the daddy sketch. I want to create a couple background characters and to begin creating a style, theme and a treatment outlining a first pass narrative. After creating a couple more characters I will try out some rigs that cater to the look and feel that I want to approach.
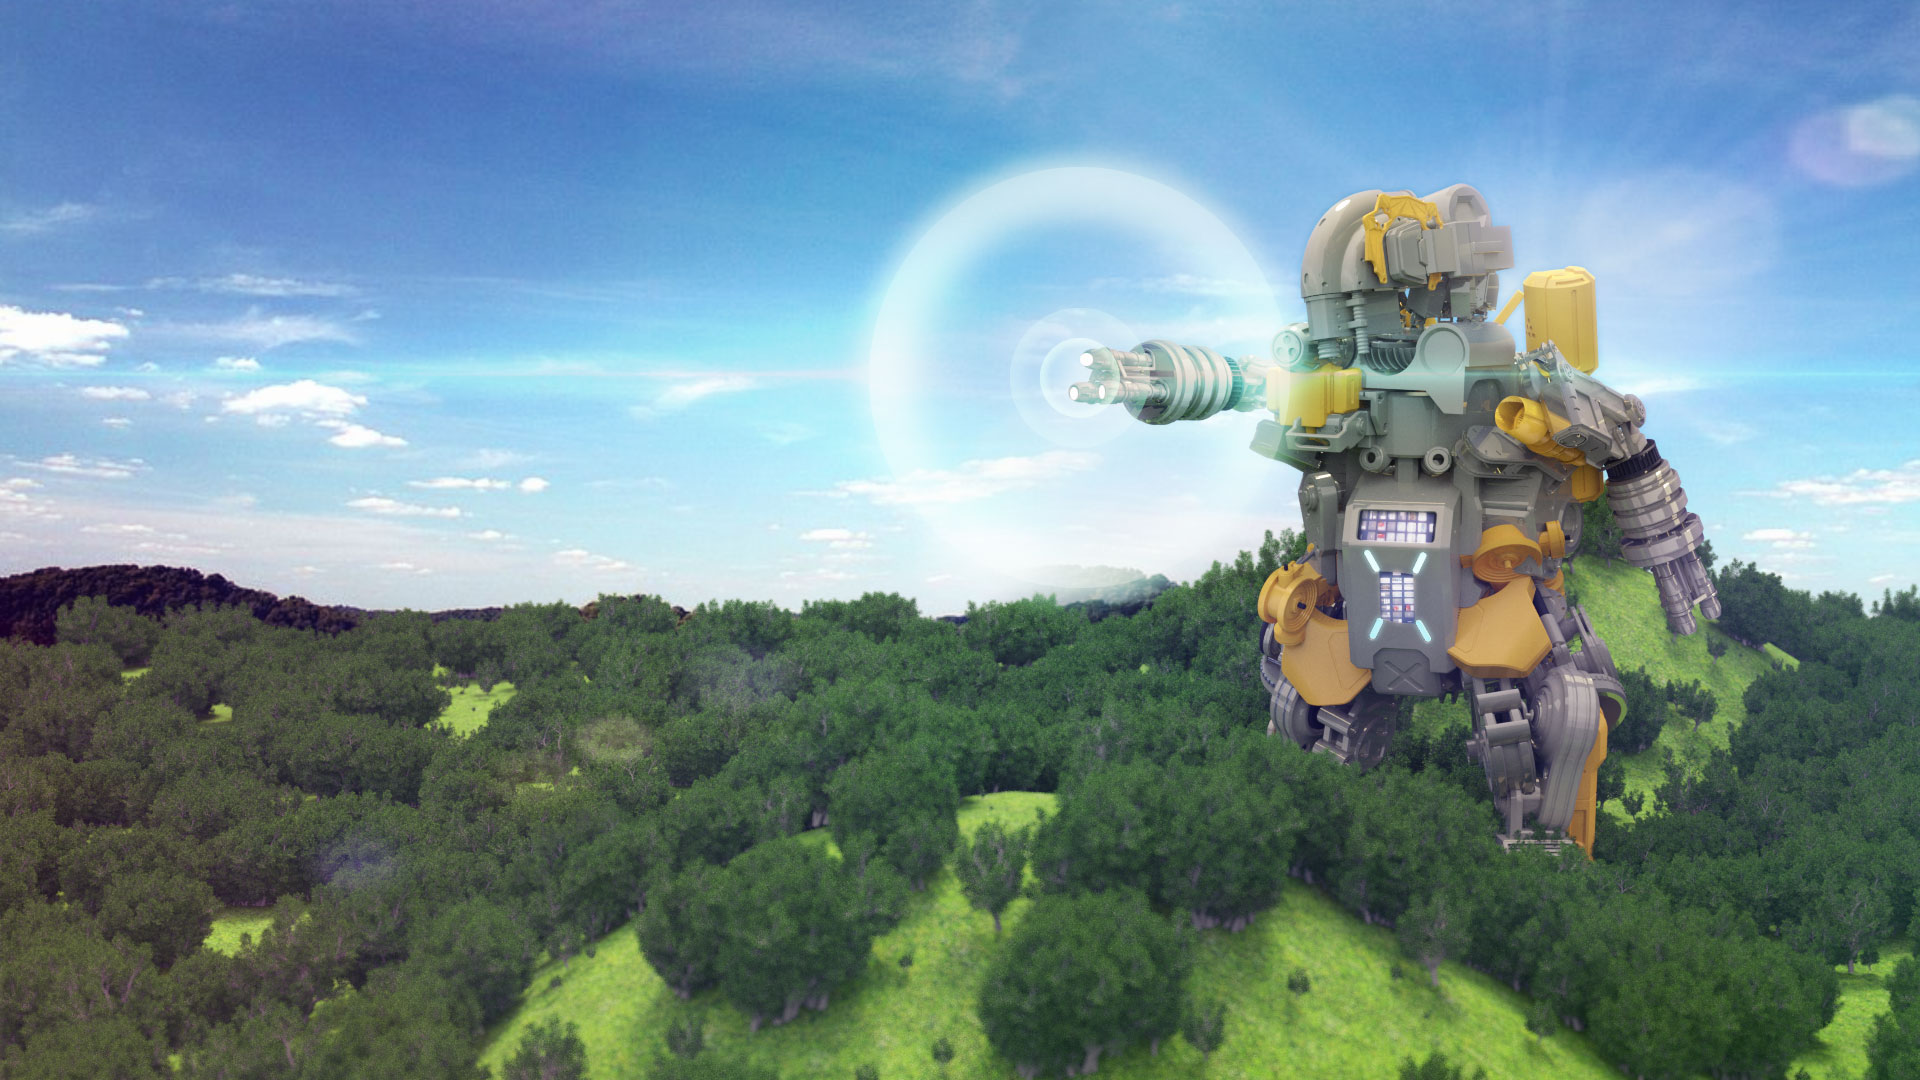
I took a break from making food based character designs and kitbashed a model for a Gundam inspired mech robot using Andrew Averkin’s Hard Surface Kitbash Pack.
It took a couple hours of bashing the model together but creating what I thought would be a rudimentary rigid bind skeleton turned out to be a time consuming project. In this case, I found that since the rigid binding tools are no longer available, I needed to create a smooth bind instead, and then modify memberships and weights in order to mimic a rigid binding set up.
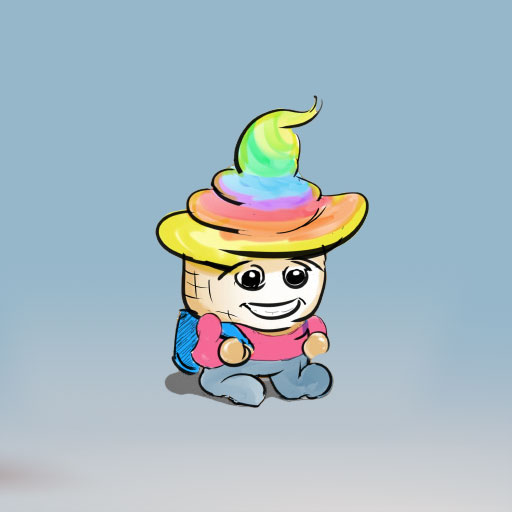
Created another character for the animated series. This will be the main character who is an anthropomorphized soft serve ice cream cone. Below is the sketch and the first pass on the 3D model. I’m wanting to keep textures as simplistic as possible but there are some cases where you need more detail to convey the character. Like in this case, the waffle pattern around the face needs to stand out just enough otherwise you lose the ice cream cone quality but too much and you lose the human quality.
Since my son is a big fan of rainbows, as of course most five years old are, I was originally thinking of using a rainbow colored soft serve ice cream but on second thought decided that vanilla ice cream with sprinkles made more sense.
Created another character for the animations. This one I am basing on our dog Kinu. She’s a white Schnauzer-Poodle mix. I’m making her into a doughnut at my son’s request. Take a look at the evolution from dog to doughnut!
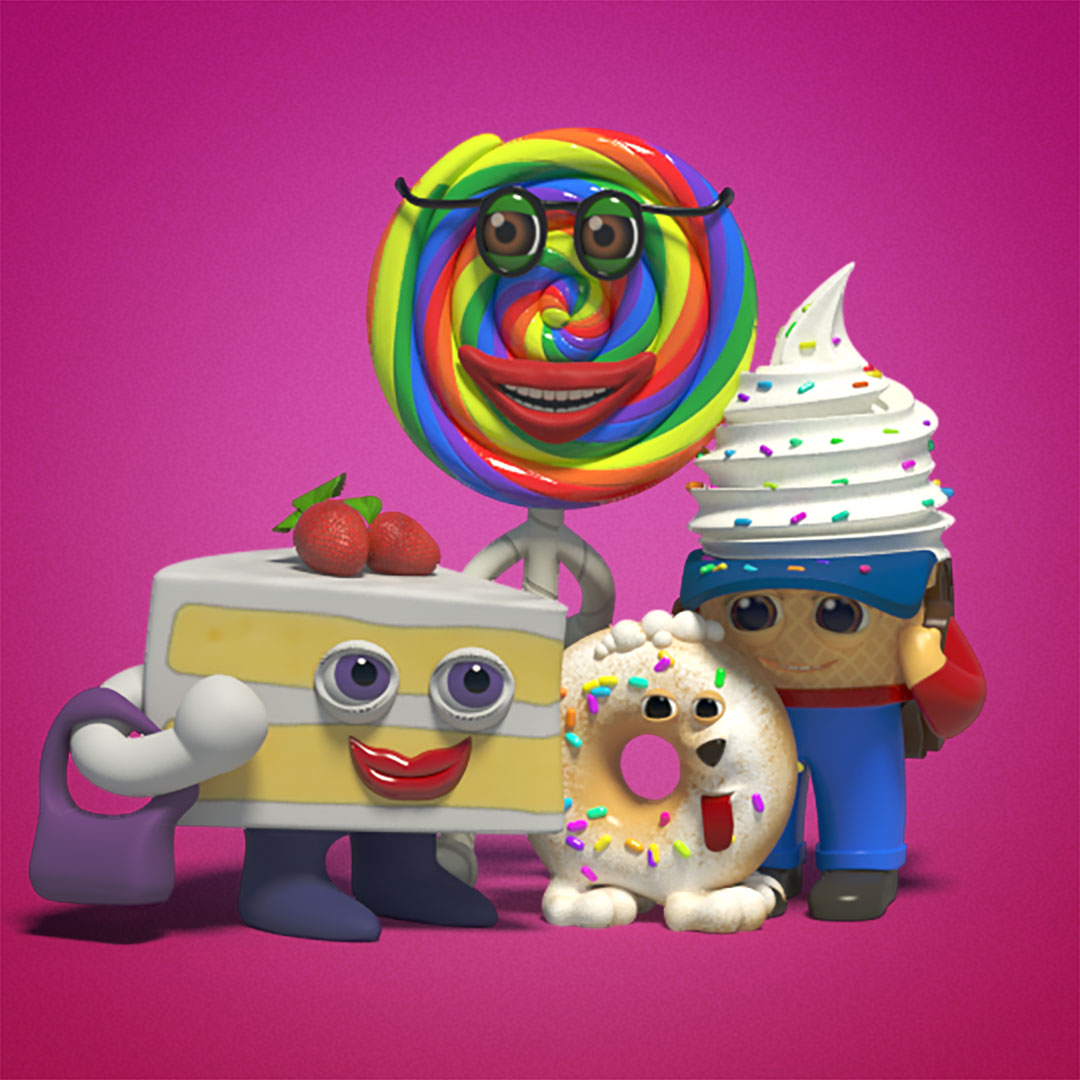
Some first pass concepts and sketches for characters in my animated series. Just so you know, I am getting the bulk of my art direction from a 5-year-old and he is a tough boss! The characters will be food-based, anthropomorphized and cartoonish or at least as far as it is currently envisioned. Some of it or all of this may change of course. For now, I created some quick character sketches and modeled out some of the characters.
kento
daddy
Our main protagonist is a school kid envisioned as a humanized rainbow ice cream. Of course all of this is preliminary and I will be completing multiple iterations before I even get into production.
I also took the cake character and created a 3D model of her. Once I have a handful of characters to populate the world with, I’ll start some rigging and animated tests.
This is a snippet for the intro shot of an animated serial currently called Lollipopland, a character-based children’s cartoon. It’s more inspirational as a way to get myself motivated.
Right now, the project is in the preproduction treatment phase, going through style and inspiration boards, concept, character sketches and narrative design. When production begins, I’ll keep this blog updated with my progress.
This is a project I am working on which will be a character based animated series for small children. This is a beginning render of an intro/establishing shot for the fantastical world which the series is based in. While working on the file, I noticed a strange effect when you import 32-bit EXRs into Adobe After Effects when the color space is set to “Linearized.”
Apparently when you set color management to a 32-bpc linearized working color space, adjustments do not get applied to the alpha channel of the EXR. The RGB channels do seem to output correctly but this is not the case for the alpha channel and it does cause a “halo” effect around the edges of an image with transparency. Look at the following examples. On the left is the non-linearized version and the alpha is seen correctly. The image on the right is the “linearized” version.
As you can see, the alpha on the right has a brighter gamma than the image on the left. This is probably a good thing since single channels are often used as “data” rather than as an image. But in this case, it does require that we add some adjustment. In order to return the alpha channel back to expected you need to add a levels effect (individual controls) to the layer and then adjust the Alpha Gamma correction to 0.45. Leave the RGB channels alone and it should return to an image matching the non-linearized version. So keep this in mind when using in a linearized color space in After Effects.
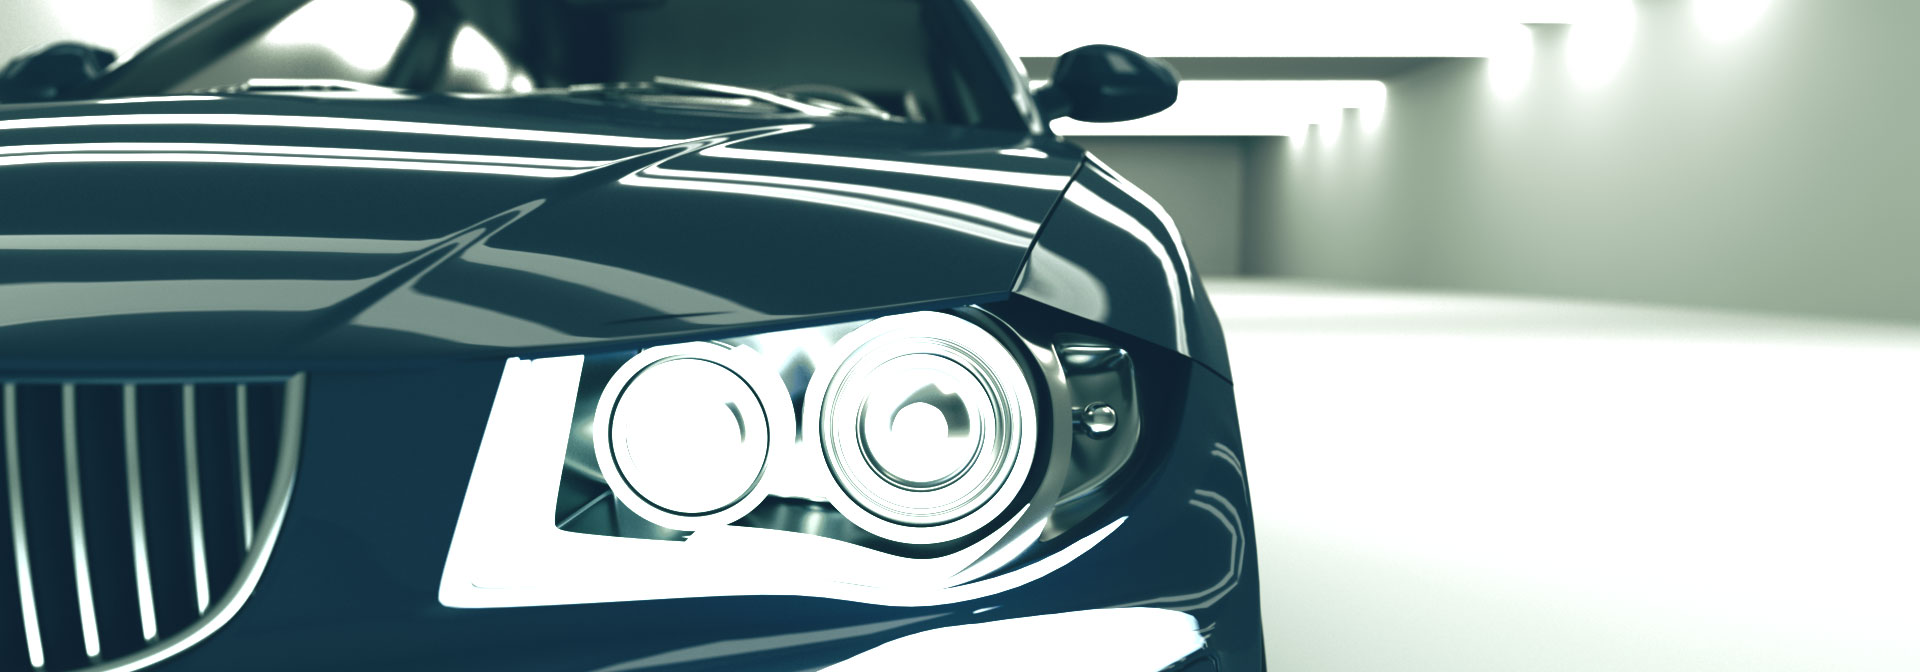
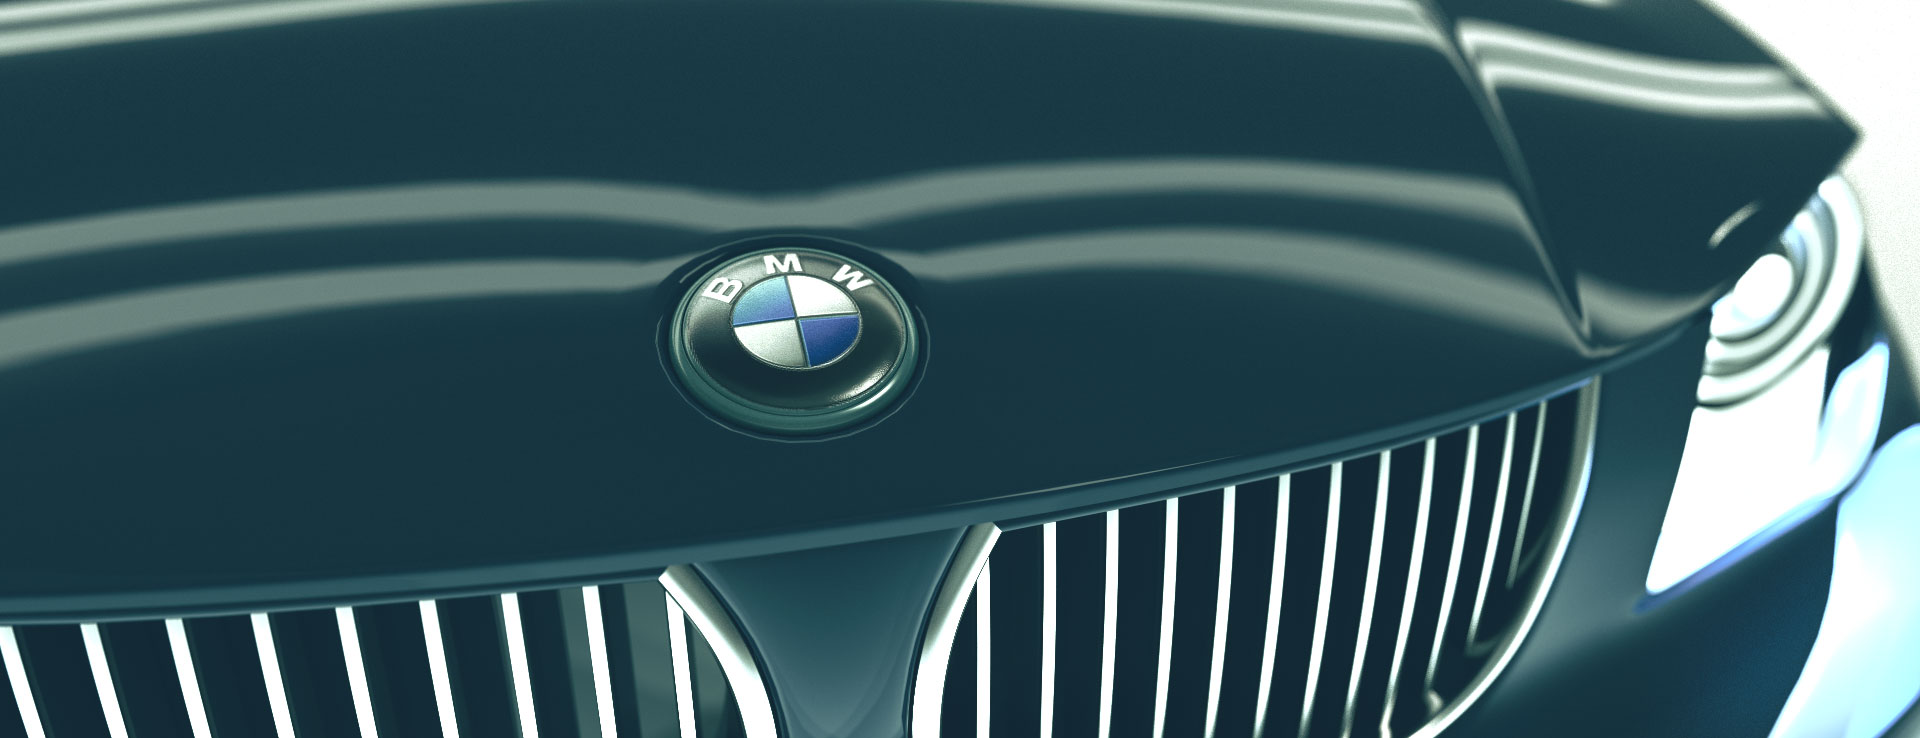
Utilizing Redshift car shaders and global illumination to create this non-work demo of what a BMW intro splash could look like. The car is a model of a BMW from Arte-3D. I re-shaded the car with Redshift materials, animated and rendered. Using a LUT created with Photoshop, I graded the render and composited the final end card in After Effects. Total project time: 3 hours including render time.
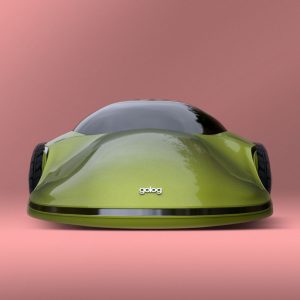
Experimented with car paint materials while modeling this concept vehicle in Maya. Composited in Photoshop with light grading. I found that starting with the tires help to define the profile of the body. It took a total of 3 hours from start to finish.
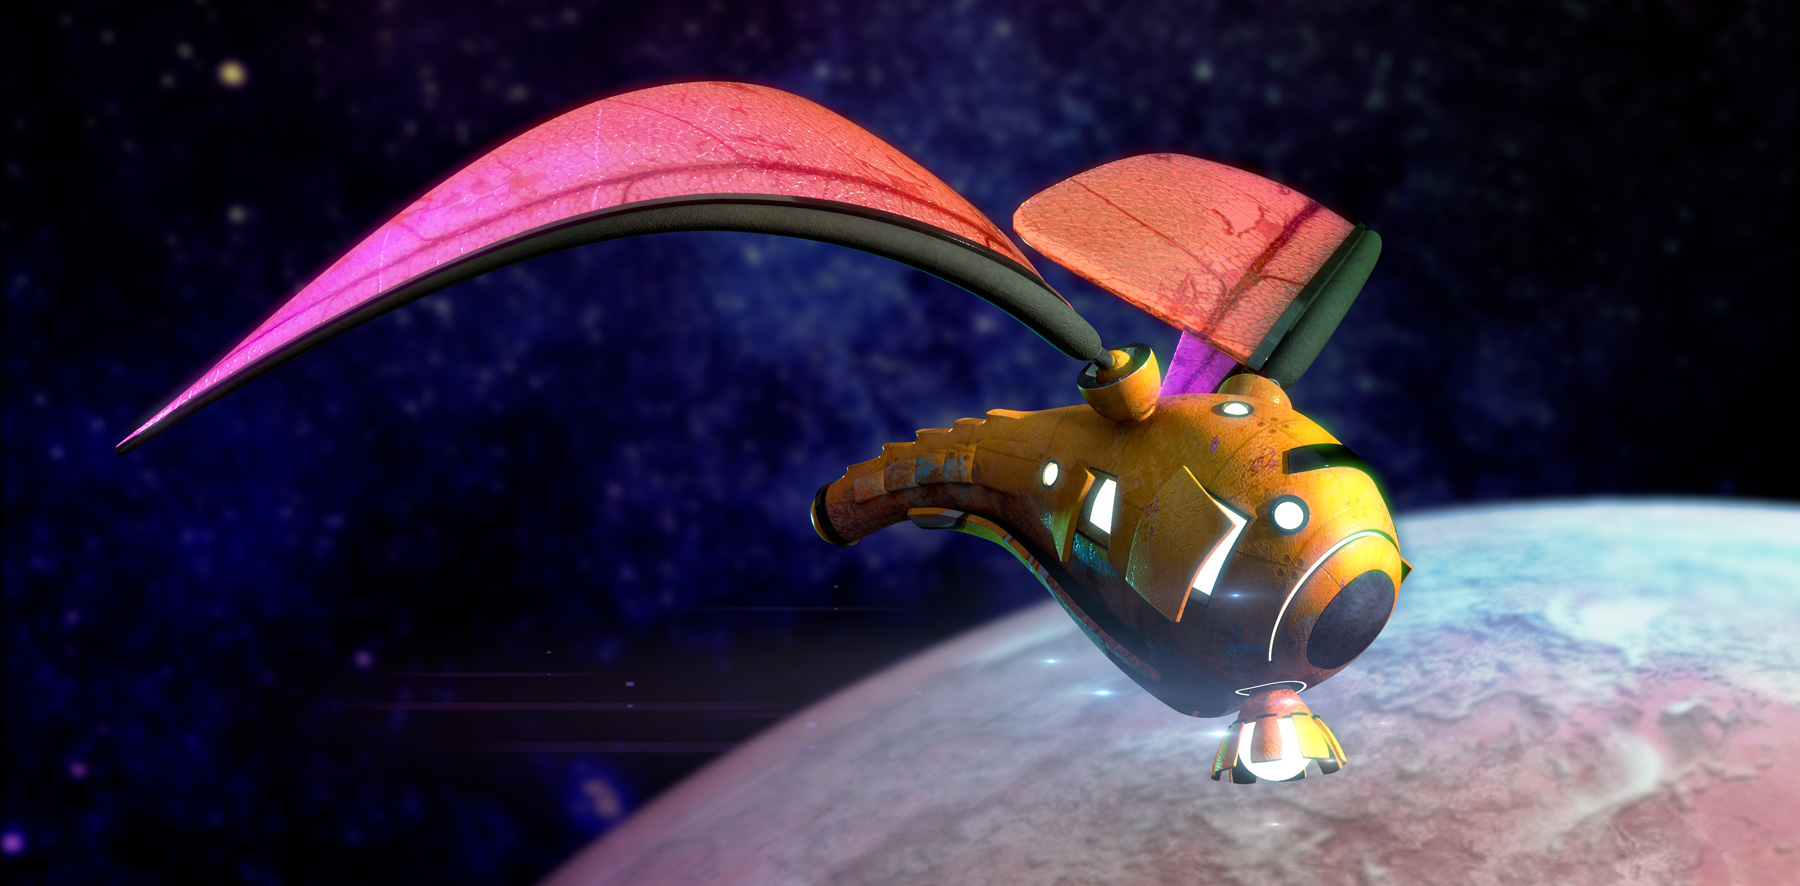
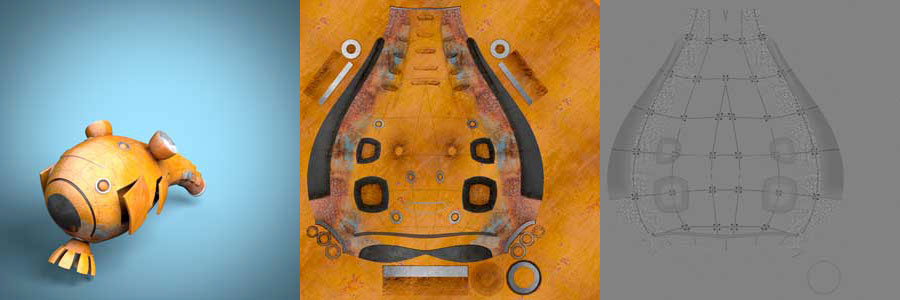
Finished modeling and texturing this exploration of an extraterrestrial spacecraft. About 8 hours of work putting in hour long stints whenever I could over the past week. I ended up rendering in Arnold as the shading options in Photoshop were too restrictive, however, I did complete the compositing in Photoshop, adding some glow and a color grade. I still created the file textures, two of them, in Photoshop 3D using a process I’ve refined and intend to cover in a future tutorial!
This is something I am currently modeling and texturing using Photoshop. Also, trying to render this using Photoshop 3D. I am also thinking of putting together a tutorial on my workflow for using Photoshop CC 3D to texture a model. Watch out for it soon!
I’ve been using The Maya-AE Live Link feature that was recently added in Maya 2017 Update 3 and it is a marvelous solution for motion graphic artists and animators who use a Maya and After Effects workflow. Whereas you had to use a hacky workflow of scripts and baking keys to go back and forth between apps, this new workflow gives me just the right amount of control and ease of use.
Although it doesn’t give you 3D rendering inside AE, and honestly you don’t want to be rendering Maya scenes from After Effects, it gives you the ability to exchange cameras, lights and transforms with which you need to match your render sequences with the composite. I am currently developing Pixel Cloud 2.0 and using Maya-AE Live Link in the workflow. Hope to show it off real soon!
Added another theme to my list of visual type experiments. Fire created using Maya fluids. If you haven’t seen the previous post with my other experiments. Check them out here.
It’s been a while since my last post. Life happens. It’s been a busy year. So sorry for the extended hiatus and I promise to come around more often!
Recently, I’ve been challenging myself during the few chances I have for experimentation to create short 5 second visual typography clips. A colleague of mine mentioned a Reddit game identifying movies from a single word uttered in the movie (without uttering the title, of course).
I tried to do similar creating short clips designing around a single word and completing within an hour or two. Here are four examples of what I’ve done so far.
UPDATE: This issue has been fixed in the latest update to AE CC 2015. The version number is 13.5.1. So if you continue to have this issue, update!
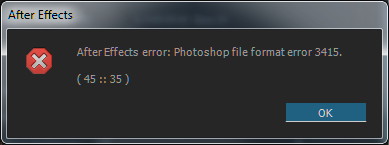
After Effects CC 2015 previews are great. A noticeable improvement from CC 2014. However, there was a nagging issue for me with After Effects CC 2015 and DNG imports. With some Blackmagic footage I had taken, modifying the Camera Raw options after import would not update the image. Also, I would sometimes experience a Photoshop File Format Error 3415.
Photoshop File Format Error 3415
After experimentation, I did find a workaround which I thought would be of use for those of you who don’t want to downgrade to CC 2014 and continue to use the newest features of CC 2015.
After setting the Camera Raw options, right-click the footage and choose Replace Footage. Afterwards, Reload and it should update. If you receive the Photoshop error you will need to close and reopen After Effects and try again. Some combination of Replace and Reload seems to do the trick.
EDIT: I was notified of a better solution which is to use Edit Original from the Edit menu. This also forces an update of the DNG sequence.
For the time being this will allow you to continue working in CC 2015 until Adobe fixes the issue.