Here’s a preview of the rig for the Dad character. I considered using HIK but Maya’s HIK solution creates an excessively complicated network. Instead, I stuck with a custom rig with IK-FK switching, character sets and definitions.
With this rig, I can apply mocap and switch between IK controls, FK keys and mocap using a weighted value. At the same time, the network is not overly complicated. IK controls are held to just what I want and adding another control during the middle of production won’t mean recharacterizing or recreating keys.
I wanted to share this quick tip video for Maya’s Align Tool. There are many alignment options available in Maya so there are many different ways to achieve a similar outcome. When using the Align Tool with flat objects you may “lose” manipulators along particular axes such as the Y axis when you have a flat plane in the selection. I think most people would simply switch to one of the other alignment options in order to achieve the result they are looking for.
The Align Tool is actually functioning correctly, albeit not very user-friendly. Because the flat plane is so small the manipulator icons have “disappeared” into the corner. These manipulators are actually still available. You need to “zoom” into the corner of the selection to access them!
I modeled out the daddy sketch. I want to create a couple background characters and to begin creating a style, theme and a treatment outlining a first pass narrative. After creating a couple more characters I will try out some rigs that cater to the look and feel that I want to approach.
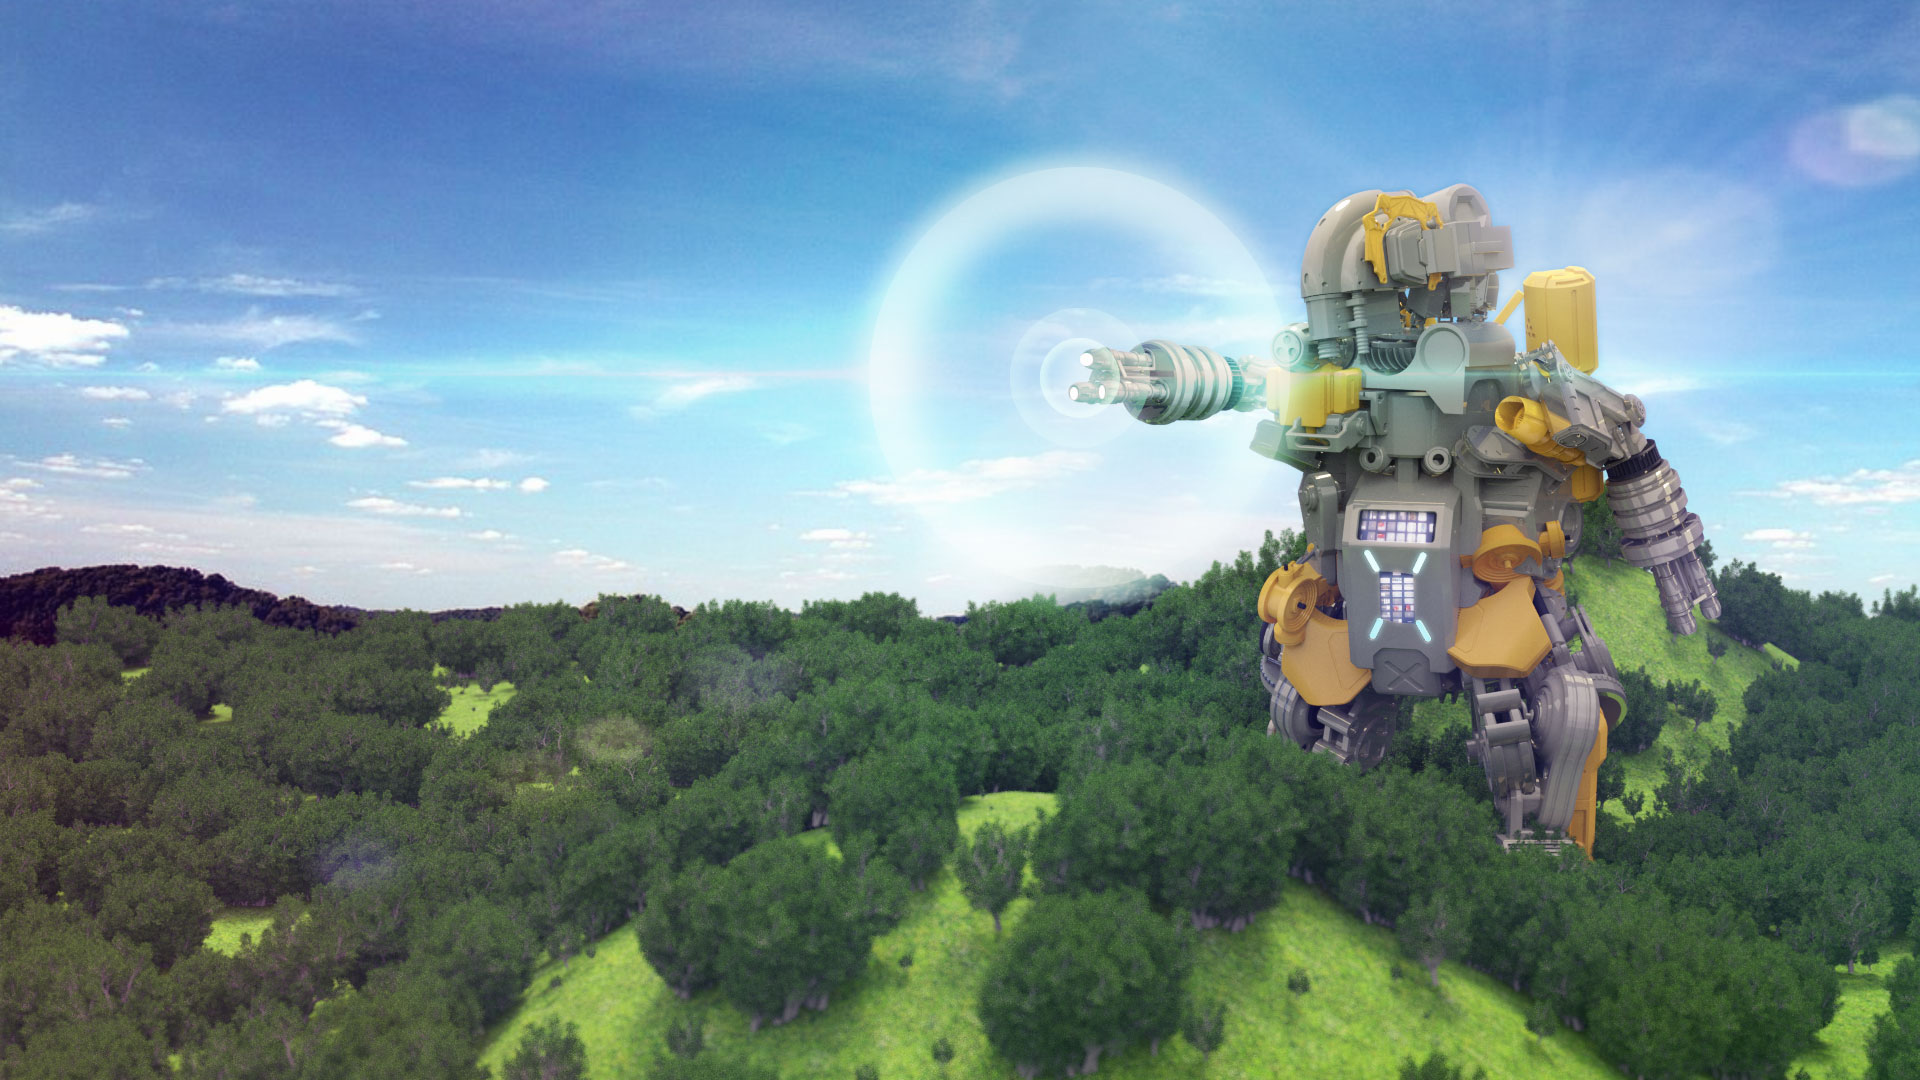
I took a break from making food based character designs and kitbashed a model for a Gundam inspired mech robot using Andrew Averkin’s Hard Surface Kitbash Pack.
It took a couple hours of bashing the model together but creating what I thought would be a rudimentary rigid bind skeleton turned out to be a time consuming project. In this case, I found that since the rigid binding tools are no longer available, I needed to create a smooth bind instead, and then modify memberships and weights in order to mimic a rigid binding set up.
Created another character for the animated series. This will be the main character who is an anthropomorphized soft serve ice cream cone. Below is the sketch and the first pass on the 3D model. I’m wanting to keep textures as simplistic as possible but there are some cases where you need more detail to convey the character. Like in this case, the waffle pattern around the face needs to stand out just enough otherwise you lose the ice cream cone quality but too much and you lose the human quality.
Since my son is a big fan of rainbows, as of course most five years old are, I was originally thinking of using a rainbow colored soft serve ice cream but on second thought decided that vanilla ice cream with sprinkles made more sense.
Some first pass concepts and sketches for characters in my animated series. Just so you know, I am getting the bulk of my art direction from a 5-year-old and he is a tough boss! The characters will be food-based, anthropomorphized and cartoonish or at least as far as it is currently envisioned. Some of it or all of this may change of course. For now, I created some quick character sketches and modeled out some of the characters.
kento
daddy
Our main protagonist is a school kid envisioned as a humanized rainbow ice cream. Of course all of this is preliminary and I will be completing multiple iterations before I even get into production.
I also took the cake character and created a 3D model of her. Once I have a handful of characters to populate the world with, I’ll start some rigging and animated tests.
This is a snippet for the intro shot of an animated serial currently called Lollipopland, a character-based children’s cartoon. It’s more inspirational as a way to get myself motivated.
Right now, the project is in the preproduction treatment phase, going through style and inspiration boards, concept, character sketches and narrative design. When production begins, I’ll keep this blog updated with my progress.
This is a project I am working on which will be a character based animated series for small children. This is a beginning render of an intro/establishing shot for the fantastical world which the series is based in. While working on the file, I noticed a strange effect when you import 32-bit EXRs into Adobe After Effects when the color space is set to “Linearized.”
Apparently when you set color management to a 32-bpc linearized working color space, adjustments do not get applied to the alpha channel of the EXR. The RGB channels do seem to output correctly but this is not the case for the alpha channel and it does cause a “halo” effect around the edges of an image with transparency. Look at the following examples. On the left is the non-linearized version and the alpha is seen correctly. The image on the right is the “linearized” version.
As you can see, the alpha on the right has a brighter gamma than the image on the left. This is probably a good thing since single channels are often used as “data” rather than as an image. But in this case, it does require that we add some adjustment. In order to return the alpha channel back to expected you need to add a levels effect (individual controls) to the layer and then adjust the Alpha Gamma correction to 0.45. Leave the RGB channels alone and it should return to an image matching the non-linearized version. So keep this in mind when using in a linearized color space in After Effects.
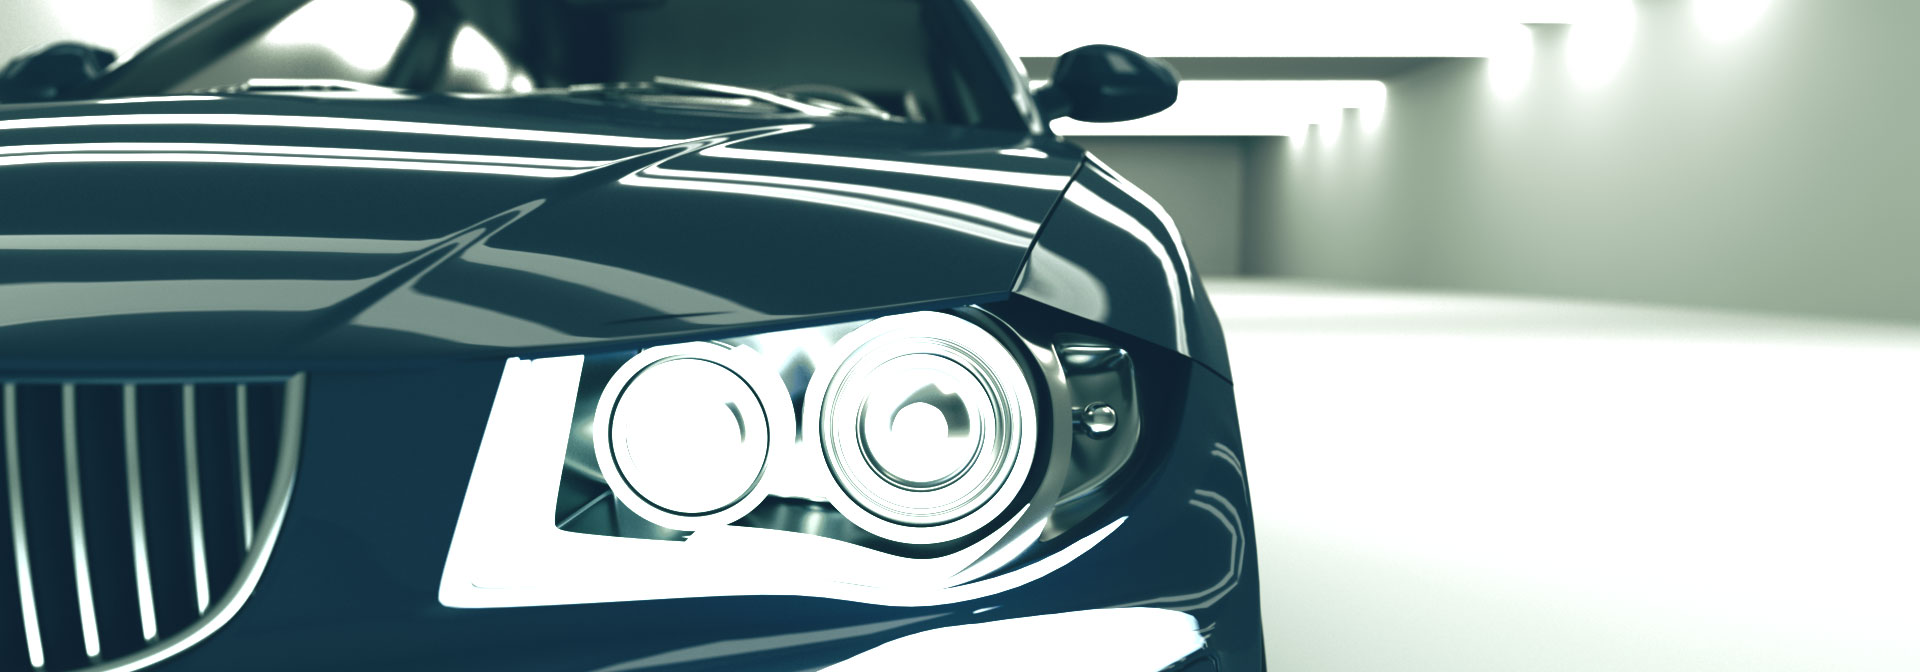
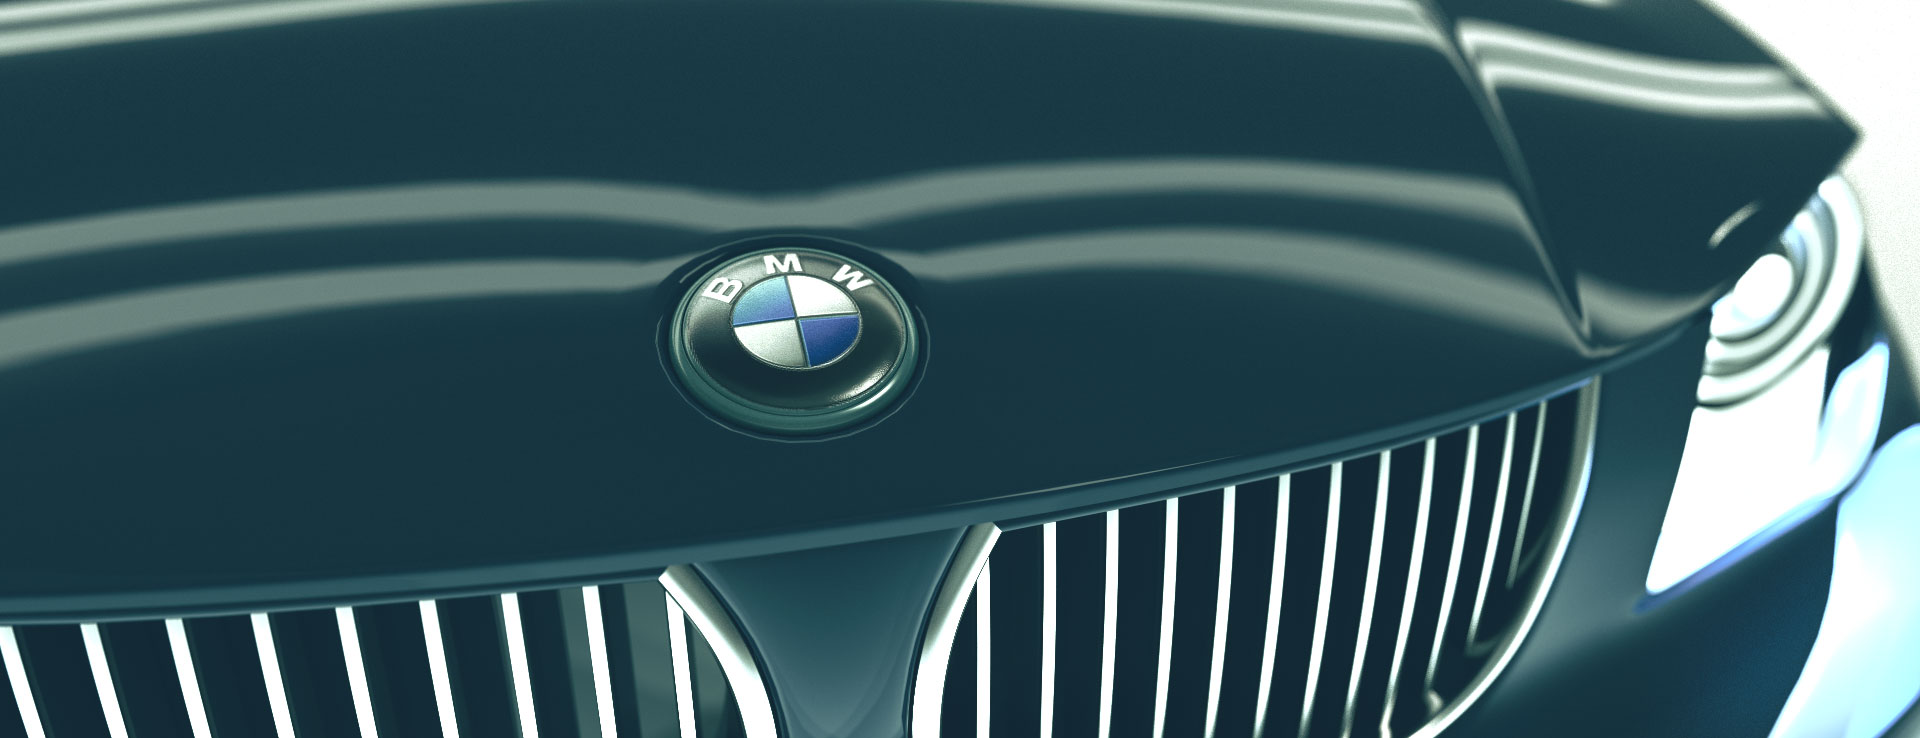
Utilizing Redshift car shaders and global illumination to create this non-work demo of what a BMW intro splash could look like. The car is a model of a BMW from Arte-3D. I re-shaded the car with Redshift materials, animated and rendered. Using a LUT created with Photoshop, I graded the render and composited the final end card in After Effects. Total project time: 3 hours including render time.
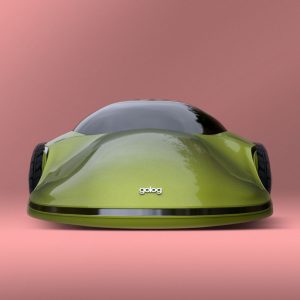
Experimented with car paint materials while modeling this concept vehicle in Maya. Composited in Photoshop with light grading. I found that starting with the tires help to define the profile of the body. It took a total of 3 hours from start to finish.
I’ve been using The Maya-AE Live Link feature that was recently added in Maya 2017 Update 3 and it is a marvelous solution for motion graphic artists and animators who use a Maya and After Effects workflow. Whereas you had to use a hacky workflow of scripts and baking keys to go back and forth between apps, this new workflow gives me just the right amount of control and ease of use.
Although it doesn’t give you 3D rendering inside AE, and honestly you don’t want to be rendering Maya scenes from After Effects, it gives you the ability to exchange cameras, lights and transforms with which you need to match your render sequences with the composite. I am currently developing Pixel Cloud 2.0 and using Maya-AE Live Link in the workflow. Hope to show it off real soon!
Added another theme to my list of visual type experiments. Fire created using Maya fluids. If you haven’t seen the previous post with my other experiments. Check them out here.
It’s been a while since my last post. Life happens. It’s been a busy year. So sorry for the extended hiatus and I promise to come around more often!
Recently, I’ve been challenging myself during the few chances I have for experimentation to create short 5 second visual typography clips. A colleague of mine mentioned a Reddit game identifying movies from a single word uttered in the movie (without uttering the title, of course).
I tried to do similar creating short clips designing around a single word and completing within an hour or two. Here are four examples of what I’ve done so far.
More and more, I am using Pixel Cloud as a visualization tool. Although, I may not have the need to relight a 3D render, I am compositing it with another pass or a background. In order to make sure the composite works, it helps to visualize how it may look within a 3D space. Pixel Cloud can help with that. Last night, I was experimenting with outputting a PPass and a Normal Pass as a UV texture from within Maya. Using this technique, you can create a point cloud not just from the view of the camera, but from all textured points on the model. Maya’s Batch Bake function allows you to do this, with it’s support for baking 32-bit texture maps. Although you cannot create image sequences in this way, you can create a working reference of the CG model from all angles. This reference could be useful when visualizing a composite.
The application of this technique is quite simple. Create and texture your position pass as normal and use Batch Bake t0 create 32-bit floating point tiffs for each pass. You need to make sure that UVs are completely unfolded and not flipped, otherwise the command may not work. Also set your options to output 32-bit. Import into After Effects and use these passes with Pixel Cloud as you normally would.
Creating the PPass texture in Maya will be the same as connecting the samplerInfo node’s pointWorld with the outColor of a surface shader. Creating the Normal Pass is a little different. One needs to connect the samplerInfo’s normalCamera to a vector product node. Then connect the rendering camera’s worldMatrix to the vector product node. Set the vector product node to matrix multiply and connect the output to the outColor of the surface shader. You can then use Batch Bake to create the texture map/passes. These were my settings.
Hey guys, this tutorial is a brief overview on how to use Maya to quickly create a position pass and normal pass to be used with the Pixel Cloud plugin for After Effects. The process is pretty much the same as in my previous tutorials but this is dedicated to exporting the passes from Maya and the adjustments necessary after importing into After Effects.
On a side note, I’ve started setting up a Forum for any questions regarding Pixel Cloud, Scripts and even just general graphics talk! If you have any technical questions please feel free to post here and for my customers feel free to email me at support@blurrypixel.com I’ll get back to you! The forum is still in the beta stages but feel free to start using it!
The Pixel Cloud plugin for After Effects is a powerful compositing tool that allows you to relight a 3D generated image, make 3D aware selections or displace the pixels in 3D space. Combine the use of a Position Pass and a Normal Pass with the power of After Effects’ 3D lights and cameras and change the lighting of your composited 3D graphics. This native plugin for After Effects can use the coordinate information from a Position Pass or depth map to generate a Pixel Cloud in 3D space. This Pixel Cloud can be viewed from all angles using AE’s own cameras. With a Normal Pass, the Pixel Cloud can be relit using After Effects’ own lights or using an image as an Image Based Light. There are a number of uses from 3D compositing to motion graphics! Find it at AEScripts.com!
Features:
Relighting with 32-bit passes
Use AE Lights and Cameras
Diffuse
Specularity
Image Based Lighting
Reflection
Alpha Lights for matte generation
Support for falloff in CS5.5 and above
Pixel Cloud generation with 8bpc to 32bpc
3D Displacement
Pixel Texturing
Lo-res Preview modes
Multiprocessor compatible
Generating the position pass can be done in various 3D software packages. In Cinema 4D you may use the PointPosition C4D from AEScripts.com. There is also a tutorial for doing this here: http://youtu.be/yfoT7bxbBwo
For Maya, you may use the Point World output of a samplerInfo node connected to a surface shader and render an EXR using mental ray and the 32-bit framebuffer. There are also a variety of tutorials available.
For 3DS Max, you may add the XYZ Generator shader to the surface slot of a mental ray material. Set it’s Coordinate System to 3 and render to an EXR using the floating point framebuffer.
The Pixel Cloud plugin effect for After Effects has several nifty features including the ability to relight a 3D rendered scene using separate passes. With this feature, you can drastically change the light source, direction of light and mood of a scene as well as the specularity and reflections in an image. Here is a demo/tutorial of how this can be achieved in After Effects with the Pixel Cloud plugin!
A recent post on FXGuide regarding Pointcloud9, a European company that provides high quality 3D scanning services to the film industry, has me fascinated with how this technology is being used today. LIDAR is basically the process of using a laser to get the 3D information of an object or environment similar to the way desktop 3D scanners operate and it ties in perfectly with my previous Recreality post, about the future of cinema. These laser-based range finding cameras are ultra accurate. No Kinect hack here. Perhaps this is the way it will be done in the future? Incidentally, this technology was used 4 years ago for Radiohead’s House of Cards music video.
Yeah! After some soul searching, I’ve moved all the blog videos onto YouTube! Our YouTube channel is at TheBlurrypixel. Of course all the videos are still embedded in the posts so no need to go directly to the channel but I will be posting some bonus extra videos on there that may not be on the blog so show us your support and Subscribe!